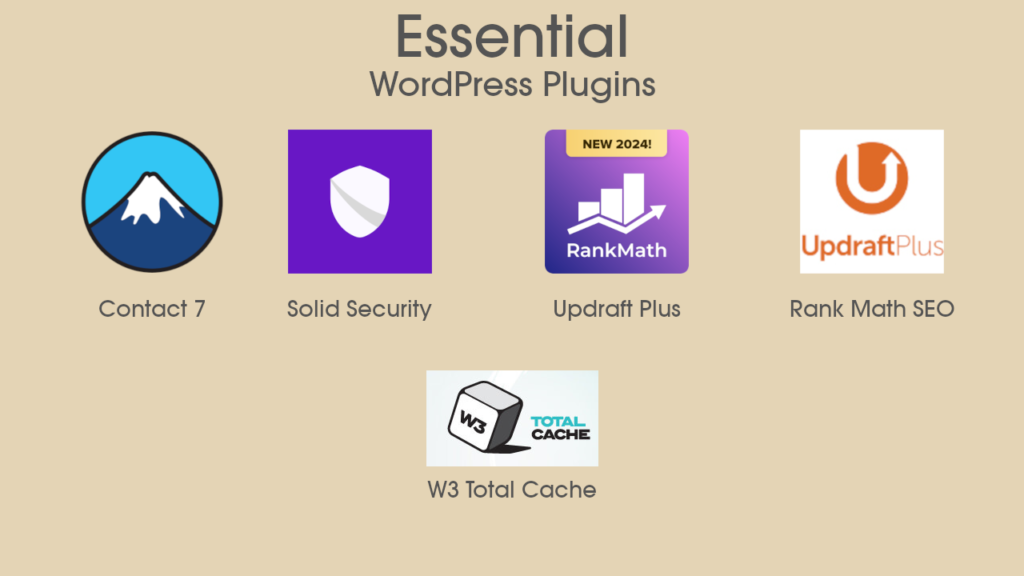
Setting up a WordPress website can be both exciting and overwhelming, especially if you’re new to the world of website creation. With its user-friendly interface and customizable features, WordPress is one of the most popular platforms for building websites. In this step-by-step guide, we will walk you through the process of setting up your WordPress website and offer tips on choosing the right theme and plugins like Contact 7, Rank Math SEO, Updraft Plus, Solid Security and W3 Total Cache to make your site stand out and secure.
Table of Contents
Step 1: Choose a Domain Name and Hosting Provider
Before you begin the process of establishing your WordPress site, it’s essential to select a domain name and a hosting service. The domain name serves as your website’s unique address on the web, while the hosting service is responsible for storing your website’s files and ensuring they are accessible to visitors. When picking a domain name, aim for something that reflects your site’s content and is easy for users to recall. Regarding hosting, it’s crucial to choose a dependable provider that guarantees excellent customer support and high uptime.
For instance, I utilize Hosthostinger and Hostgator for hosting my website, while I rely on Namecheap and Godaddy for my domain registration needs based on client requirements.
Step 2: Install WordPress
Once you have your domain and hosting ready, the next step is to install WordPress, the powerful content management system that will serve as the backbone of your website. Fortunately, most hosting providers offer a straightforward installation process, making it easy for even beginners to get started. Here’s how to do it:
- Access Your Hosting Control Panel: Log in to your hosting account and navigate to the control panel (often referred to as cPanel). This is where you’ll find all the tools you need to manage your website.
- Locate the WordPress Installer: Look for the WordPress installer, which is typically found under the “Website” or “Software” section. Many hosts offer a one-click installation option, which simplifies the process significantly.
- Start the Installation: Click on the WordPress installer icon. You’ll be prompted to select the domain where you want to install WordPress. Choose your domain and click “Install.”
- Fill in the Details: During the installation process, you’ll need to provide some basic information, such as your site title, username, password, and email address. Make sure to choose a strong password to keep your site secure.
- Complete the Installation: After filling in the necessary details, click the “Install” button. The installation process will take just a few moments. Once it’s complete, you’ll receive a confirmation message along with the URL to your new WordPress site.
- Log In to Your Dashboard: To start customizing your site, navigate to
yourdomain.com/wp-adminand log in using the credentials you set up during installation. From here, you can choose a theme, install plugins, and begin creating content.
Congratulations! You’ve successfully installed WordPress and are now ready to build your online presence. In the next section, we’ll explore how to choose the perfect theme for your website.
Step 3: Customize Your Website
Now that you have WordPress up and running, it’s time to put your personal touch on your website. Customizing your site is essential for making it visually appealing and ensuring it meets your specific needs. Here’s how to get started:
- Choose a Theme: The first step in customization is selecting a theme that aligns with your brand and vision. Head over to the “Appearance” section in your WordPress dashboard and click on “Themes.” You’ll find a variety of free themes available in the WordPress repository. Take your time to browse through the options, and don’t hesitate to preview different themes to see how they look in action. The first step in customization is selecting a theme that aligns with your brand and vision. Head over to the “Appearance” section in your WordPress dashboard and click on “Themes.” You’ll find a variety of free themes available in the WordPress repository. Take your time to browse through the options, and don’t hesitate to preview different themes to see how they look in action. For instance, my favorite theme is Sydney is a powerful business theme that provides a fast way for companies to create an awesome online presence.
- Customize Your Theme: After selecting a theme, click on the “Customize” button under the “Appearance” menu. This will open the WordPress Customizer, where you can tweak various elements of your site. You can adjust your site title, tagline, colors, fonts, and even upload a header image. Play around with the settings until you achieve a look that feels just right for your brand.
- Set Up Navigation Menus: A clear and intuitive navigation menu is crucial for helping visitors find their way around your site. To create a menu, go to “Appearance” > “Menus.” Here, you can add the pages you’ve created, arrange them in the order you prefer, and assign the menu to a specific location on your site. A well-structured menu enhances user experience and keeps visitors engaged.
By following these steps, you’ll create a customized website that not only looks fantastic but also functions smoothly for your audience. In the next step, we’ll dive into creating engaging content that will keep your visitors coming back for more.
Step 4: Add Essential Plugins

Plugins are like apps for your WordPress website, adding functionality and features to enhance your site. Some essential plugins to consider adding include:
- Rank Math SEO: Helps you optimize your website for search engines.
- Contact 7: Allows you to create contact forms for your website.
- UpdraftPlus: Backs up your website to protect your data.
- Solid Security: Brute-force attack prevention, Allows you to add two-factor authentication to your WordPress login with several authentication methods.
- W3 Total Cache: Speeds up your website by caching files.
Step 5: Create Pages and Content
With the technical setup out of the way, it’s time to create pages and content for your website. Start by creating essential pages such as Home, About, Services, and Contact. Make sure to add high-quality images and well-written content to engage your visitors. You can also create a blog section to share regular updates and establish yourself as an authority in your industry.
Step 6: Optimize for SEO
To ensure your website ranks well in search engine results, it’s essential to optimize it for SEO. Use keywords relevant to your content throughout your website, optimize your images with alt text, and create meta titles and descriptions for each page. Rank Math SEO plugin mentioned earlier can also help you with SEO optimization.
Step 7: Test and Launch Your Website
Before launching your website, it’s crucial to test it thoroughly to ensure everything is working correctly. Check for broken links, test the loading speed, and review the overall design and functionality. Once you’re satisfied with the final product, it’s time to launch your website and share it with the world.
In conclusion, setting up a WordPress website may seem daunting at first, but by following this step-by-step guide and taking your time to choose the right theme and plugins, you can create a professional and engaging website that reflects your brand and attracts visitors. Remember to regularly update your content and monitor your website’s performance to ensure it continues to meet your goals and resonates with your audience.

